Advanced authoring in Microsoft Word – Part 24: Word vector graphics
In addition to embedding external image files into Word documents, it is possible to create illustrations directly in Microsoft Word using the built-in vector graphics editing capabilities. To create a new drawing in a Microsoft Word document, select Insert/Shapes and choose a geometric shape or ‘New Drawing Canvas’. Generally, it is best to create a canvas, which is simply a rectangular region in which you can place an arbitrary number of geometric shapes; this way, you can manipulate the entire illustration as a single unit. However, it is also possible to insert geometric shapes directly into the document, without using any canvas. This can only be recommended for very simple illustrations (such as those consisting of a single shape). When a graphics object is selected, the Format Drawing Tools contextual ribbon tab is shown.

A canvas, or a shape inserted directly into the document, can be ‘attached’ to the main text in several different ways, which you choose using the ‘Wrap Text’ commands. One way, which is often the most robust one, is to let the object be an in-line object, so that it flows with the text like any in-line character. This option is called ‘In Line with Text’ in Word 2010.
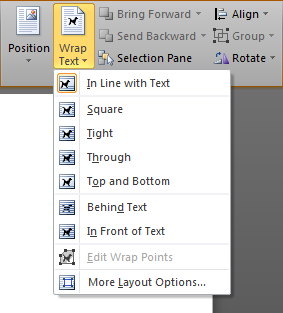
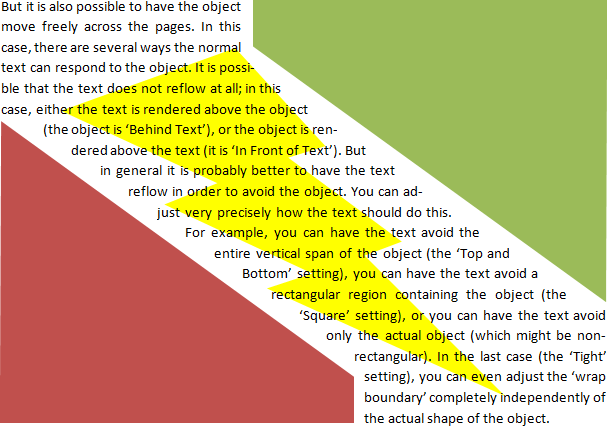
But it is also possible to have the object move freely across the pages. In this case, there are several ways the normal text can respond to the object. It is possible that the text does not reflow at all; in this case, either the text is rendered above the object (the object is ‘Behind Text’), or the object is rendered above the text (it is ‘In Front of Text’). But in general it is probably better to have the text reflow in order to avoid the object. You can adjust very precisely how the text should do this. For example, you can have the text avoid the entire vertical span of the object (the ‘Top and Bottom’ setting), you can have the text avoid a rectangular region containing the object (the ‘Square’ setting), or you can have the text avoid only the actual object (which might be non-rectangular). In the last case (the ‘Tight’ setting), you can even adjust the ‘wrap boundary’ completely independently of the actual shape of the object.
Actually, Microsoft Word is a rather decent vector graphics editor. It is powerful enough that many illustrations can be created directly in Microsoft Word, but it is also unpolished enough that it can be a tedious experience to work with it.
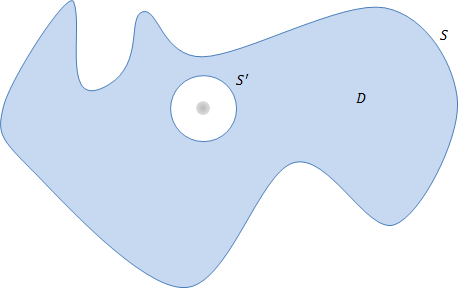
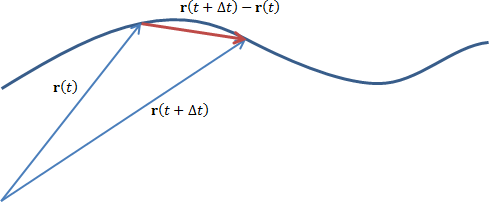
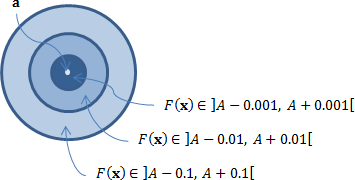
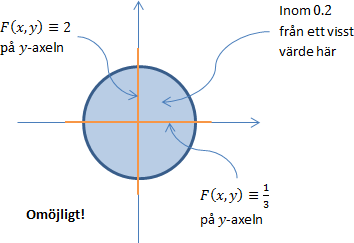
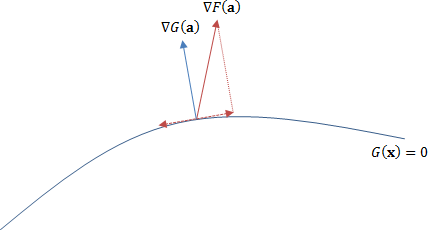
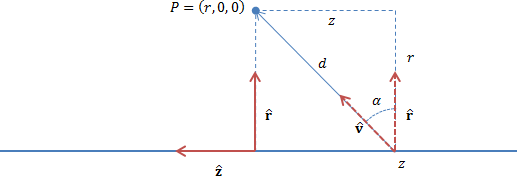
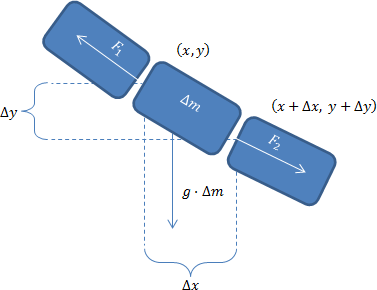
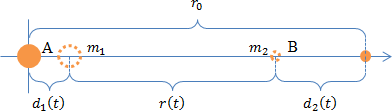
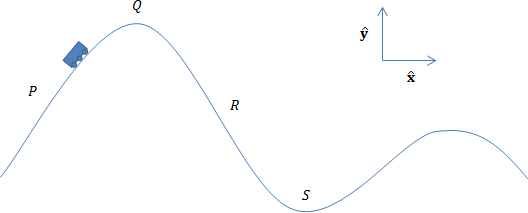
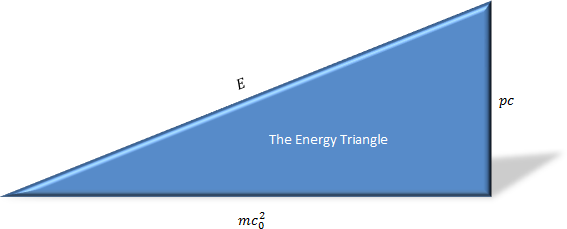
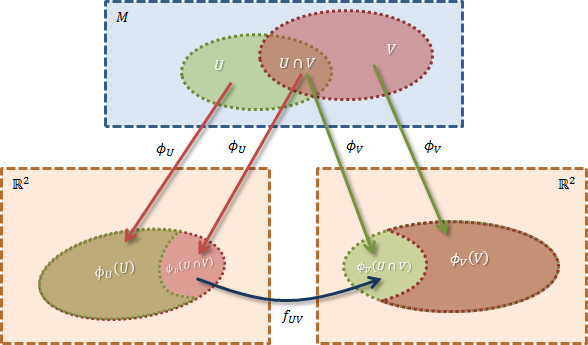
Below are just a small number of the illustrations I have created in Microsoft Word for use in my texts the last years.